
Blood draws are a critical part of patient care and diagnostics. Proper prep, accurate labeling, and smooth patient handling are non-negotiable. We will use this time to also inform the Patient about the how to use their Patient app and cover any items that the provider may want us to review.
📚 Resources Needed
- Besa EHR
- Lab requisition (printed with patient labels/stickers)
- Stainless Steel Tray
- Lab Cart
- Specimen collection supplies:
- Appropriate tubes (based on order)
- Butterfly needle / vacutainer
- Tourniquet
- Alcohol prep pads
- Gauze
- Cotton balls
- Medical tape / bandage
- Specimen bag
- Gloves
- Centrifuge (if required)
- iPad (to show Patient app)
🚀 Tips & Workflow Standards
- Prep before patient arrives—no scrambling during visit
- Labels must match patient 100% (no exceptions)
- Always assume multiple tubes may be needed
- Patient experience matters—be smooth, confident, and quick
- If you’re unsure about tube type or handling → check before drawing
- Always bring the lab cart in with you in case you need more supplies
- Put your laptop on the top tray of the cart so it is not in the way, and you can see / navigate it
📘 Step-by-Step Instructions
1. Print Lab Requisition
- You should be able to find the order in the draft column of the order page. Print the attachment.
- If the requisition is not there in the order, be sure to go into labcorp to get it and upload it.
- Print requisition using lab printer
- Ensure all patient stickers/labels are included
- Verify:
- Patient name
- DOB
- Ordered labs
2. Prep Specimen Collection Materials
- Review ordered labs
- Prepare correct:
- Tubes
- Needles
- Supplies
- Place everything on stainless steel tray
- Add sticky note with patient’s first name
- Make sure the top tray is clear so you can put the laptop in it during visit
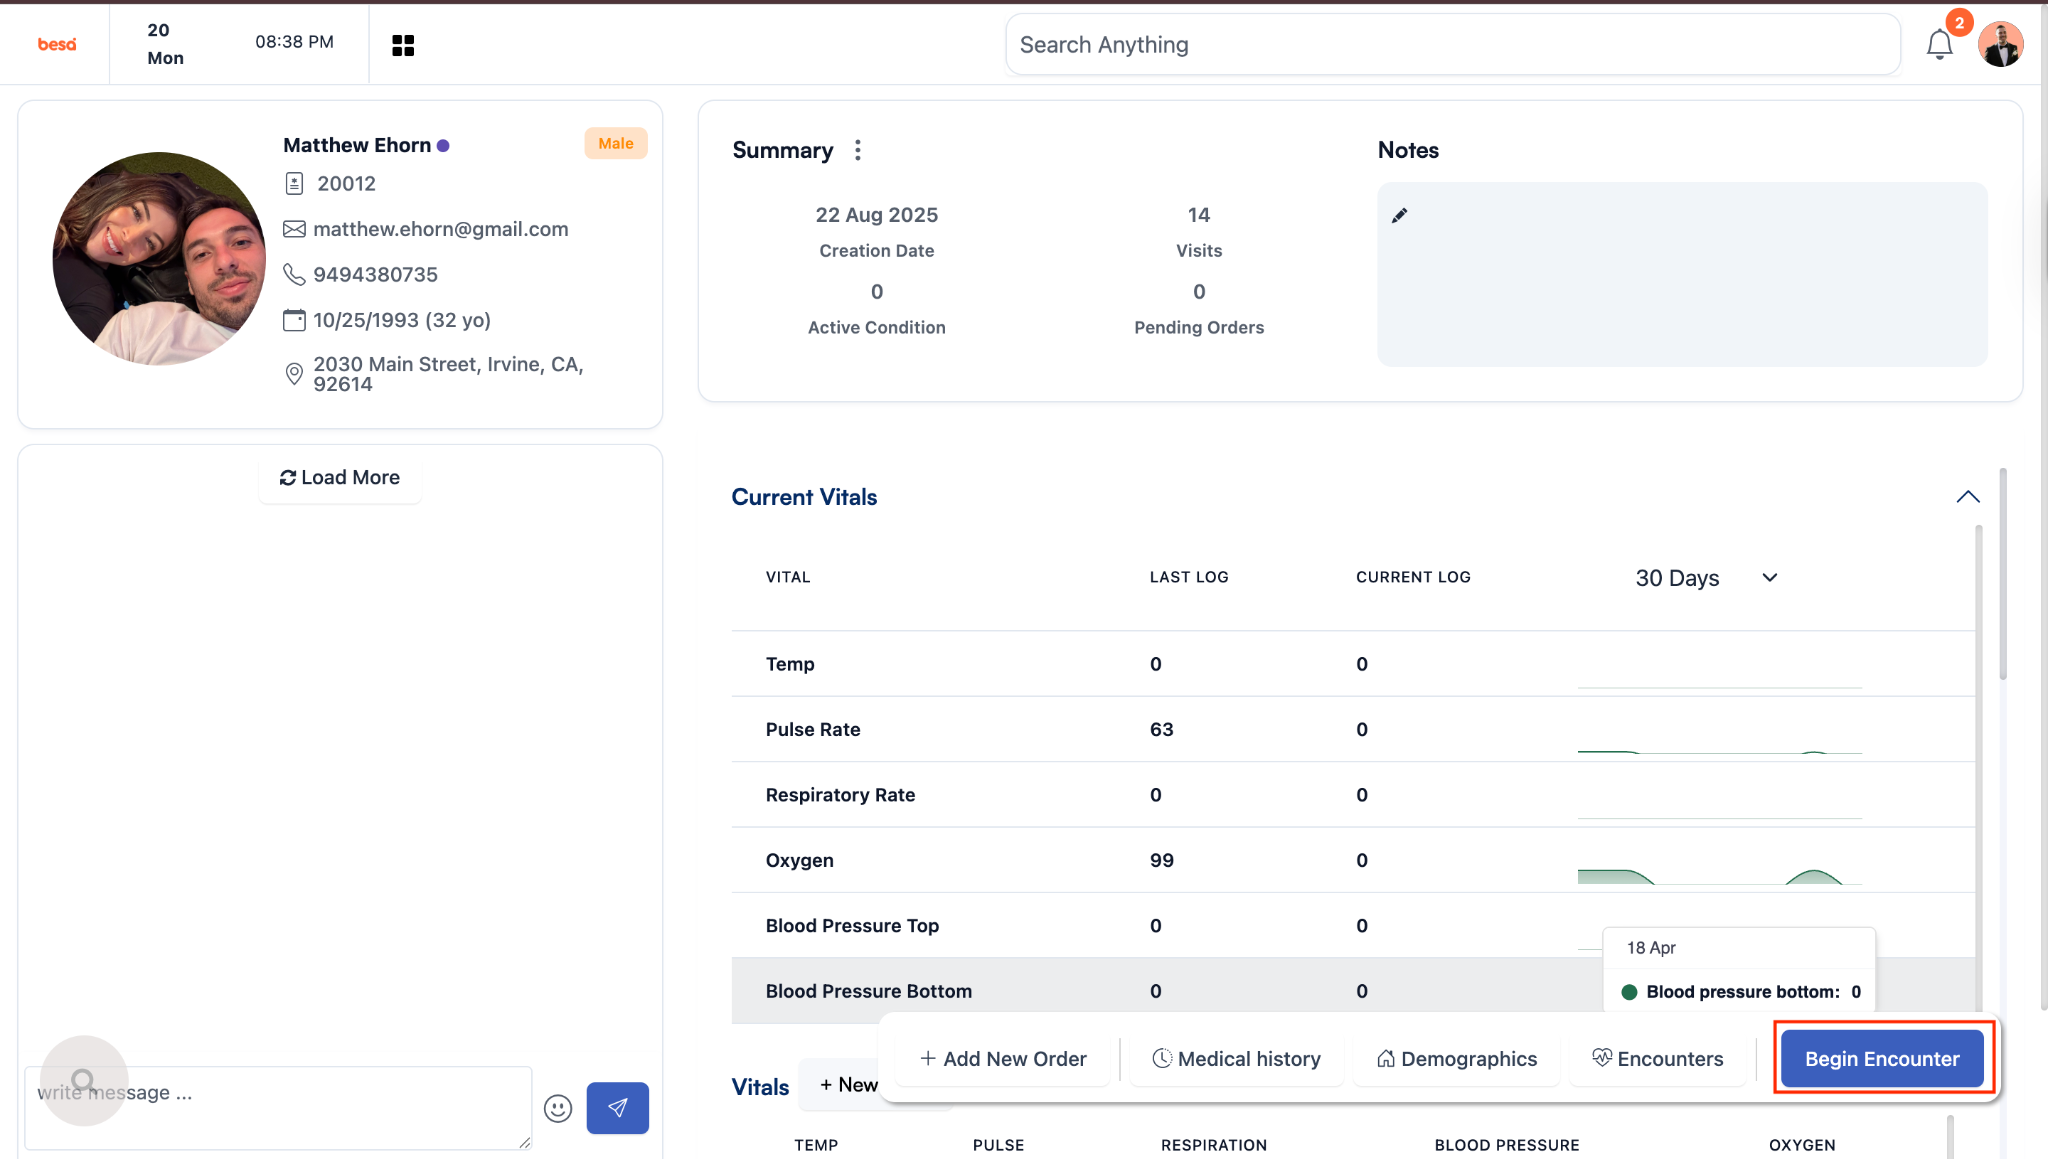
3. Create Patient Encounter
- Open Besa EHR
- Search the Patient name and create new encounter
- Ask patient:
- “Is it okay if we record audio to help generate your notes?”
- Follow workflow from:
4. Perform Blood Draw
- Follow proper technique per:
- Key actions:
- Apply tourniquet
- Clean site
- Draw correct tubes in correct order
- Release tourniquet
- Immediately label all specimens in front of patient
- Here is a video by our very own showing what you need to do.
5. Post-Draw Patient Care
- Apply gauze + pressure
- Secure with tape/bandage
- Confirm patient feels okay (no dizziness/lightheadedness)
6. Educate Patient on Besa Health App
Walk through:
- How to contact Care Manager (primary communication)
- How to book appointments
- How to complete a task
- Where to find:
- Documents
- Health records
📹Watch this video on how to navigate and what there is in the app.
7. Ensure There’s a Follow-Up
- Ensure follow-up appointment is scheduled before patient leaves
- Confirm date/time with patient
⚠️There should already be a follow up schedule. Just make sure and if not schedule it. It should be 1 to 2 weeks out.
8. Specimen Handling & Lab Coordination
- Follow:
- Key actions:
- Centrifuge if required
- Place in correct specimen bags
- Attach requisition
- Organize for LabCorp pickup
9. Patient Checkout
- Walk patient out
- Ask:
- “Any questions before you go?”
- Confirm they feel okay after draw
- Offer half-off drink ☕
10. Room Turnover
- Dispose of sharps properly
- Clean and disinfect all surfaces
- Reset room for next patient
11. Finalize Encounter Notes
- Review generated notes for accuracy
- Ensure:
- Procedure documented
- Labs documented
- Make corrections if needed before signing
- When closing the encounter, select SAVE. The provider will finalize.
⚠️ Critical Reminders
- Never label tubes away from patient → do it immediately
- Wrong tube = unusable lab → patient redraw (avoid at all costs)
- Always confirm patient stability before discharge
- If patient feels faint → stop and escalate
- Clean room immediately after use
📹 Video
📞 Support
If there are any issues with lab orders, supplies, or patient response, notify support or provider immediately.
Comments (0)