
Claims is how we get paid and keep the lights on. It is important that you properly submit claims for a few different reasons. One is that we want to get this money from the insurance as fast as possible. Another is that it is very easy to miss a possible CPT or billed quantity which increases the insurance's reimbursement for the visit. Lastly, we cannot get rejected claims. This will absolutely kill us and the insurance company will find any reason to reject a claim. Remember - details matter!
📚Resources Needed
🚀 Tips & Tricks
- Work with 3 different windows at once
- Once you figure out your workflow, don’t change it. Do the same thing every single time.
- 99204 and/or 99214 only will be around 80% of all CPT codes used in claims.
- Don’t forget your modifiers.
- We should be submitting claims the same day that we saw the Patient. In the evening time after the provider finished the encounter notes.
- Always check your work!
📘 Instructions
Make sure not to forget one of these steps.
- Pull up the Patient Billing Page and look at what visits need claims submitted for that day.
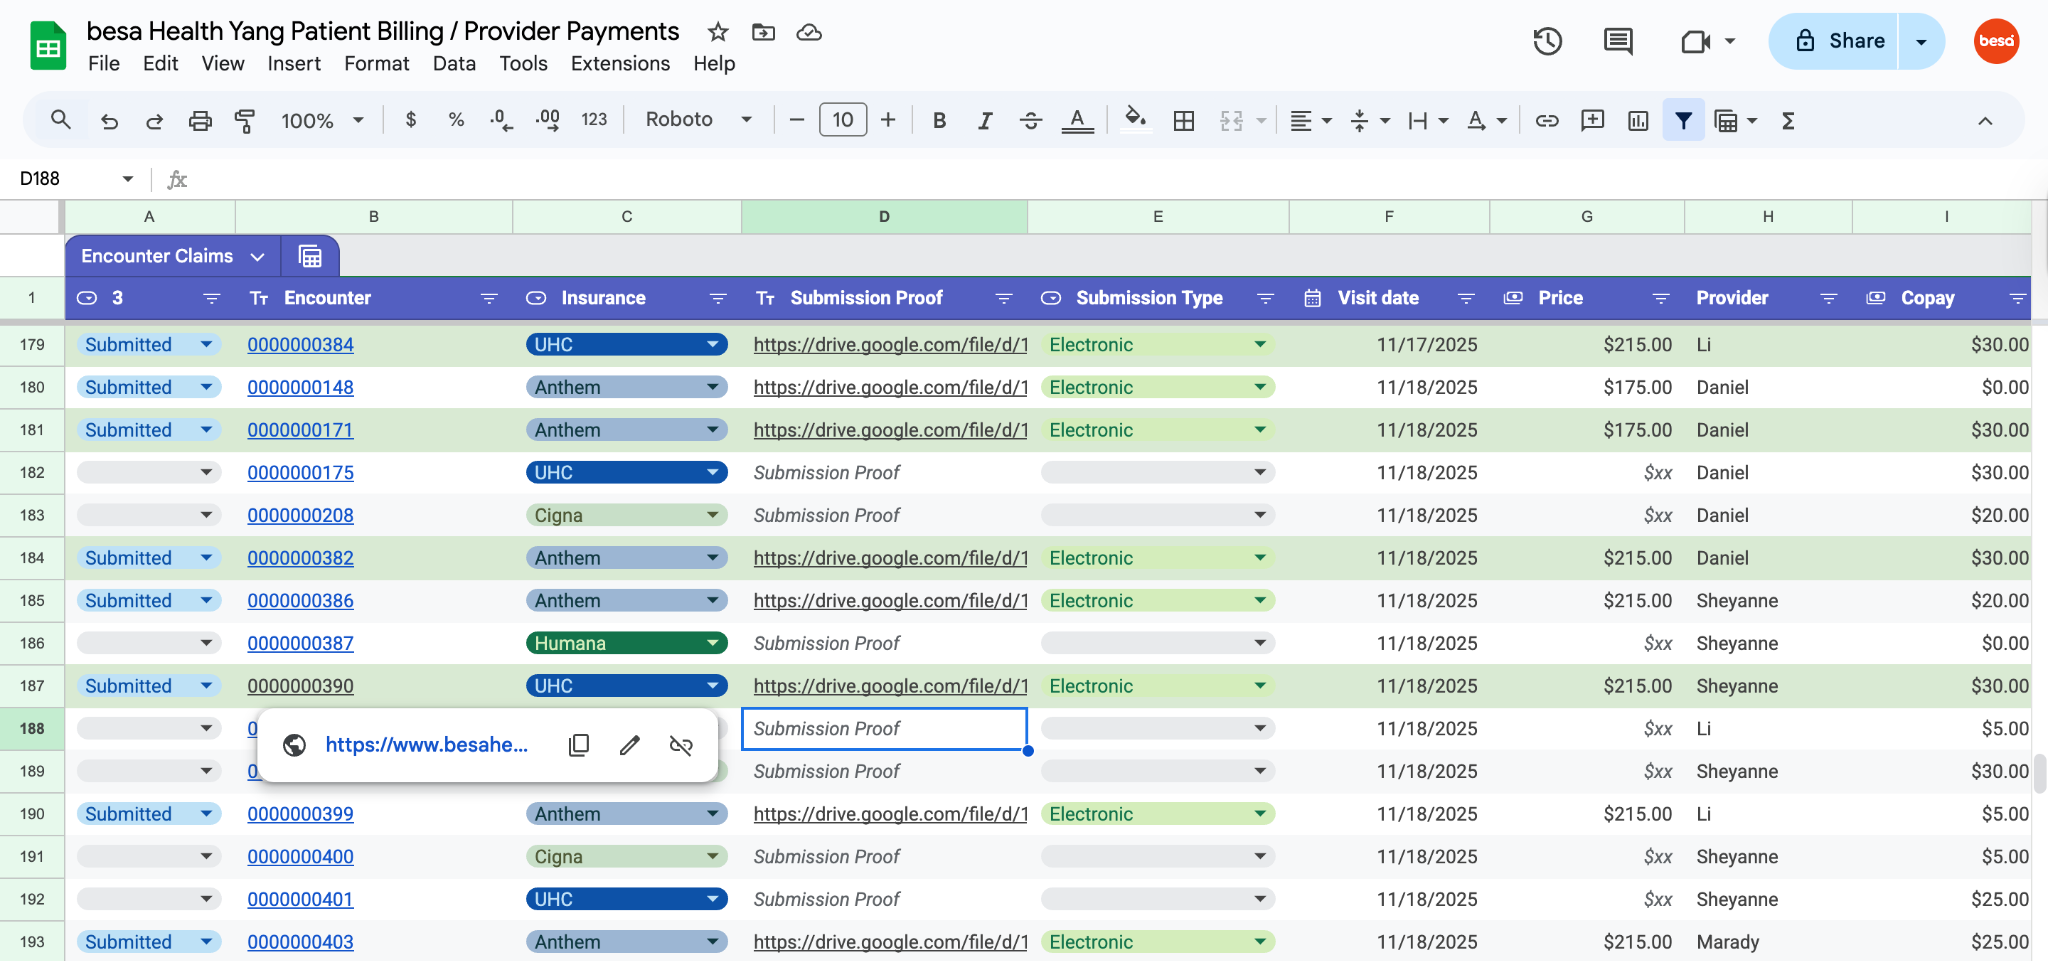
- Pull up the EHR Billing page and filter the results to the specific day you’re working on.
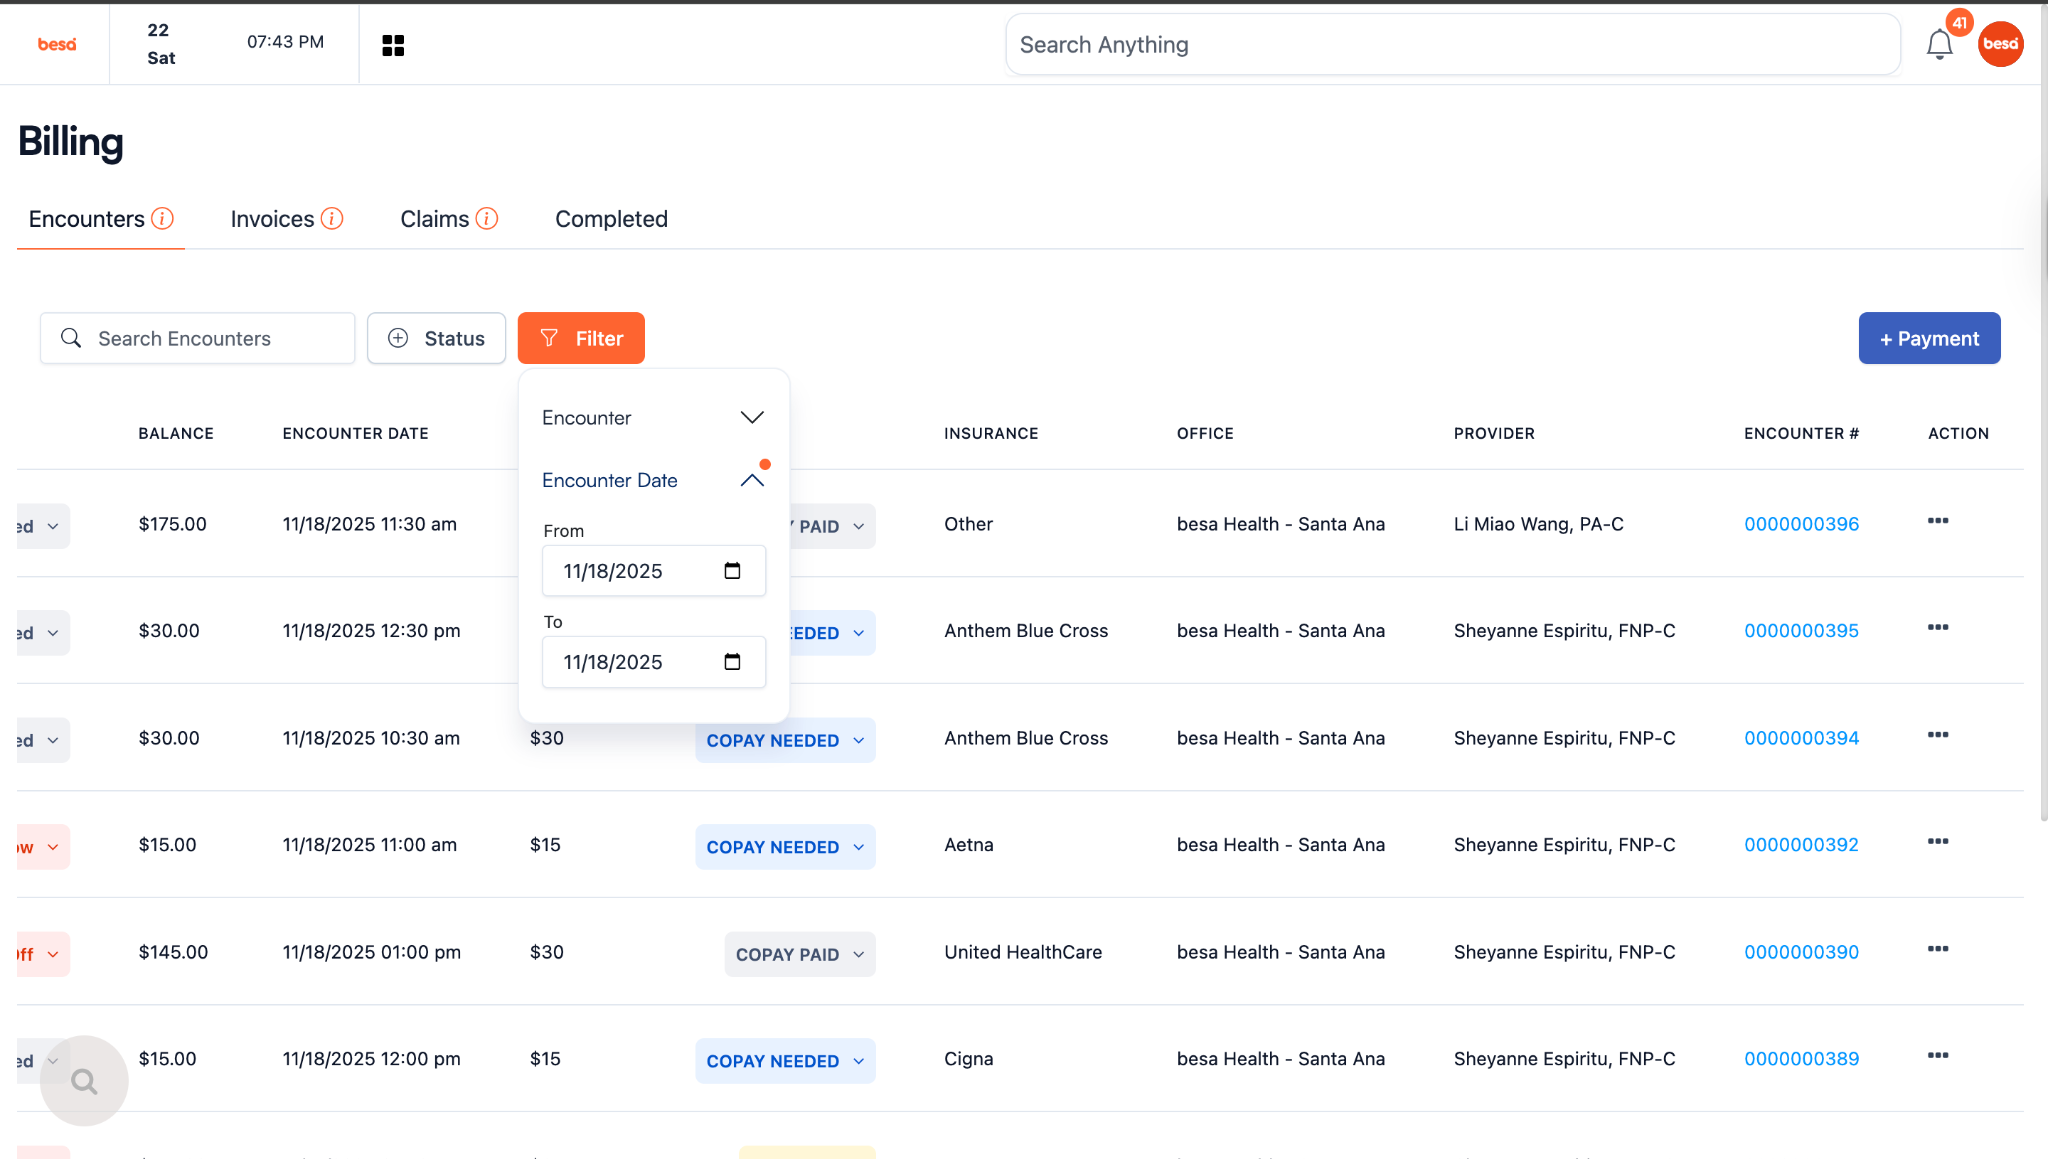
- Go to the submit a claim page of the UHC Portal.
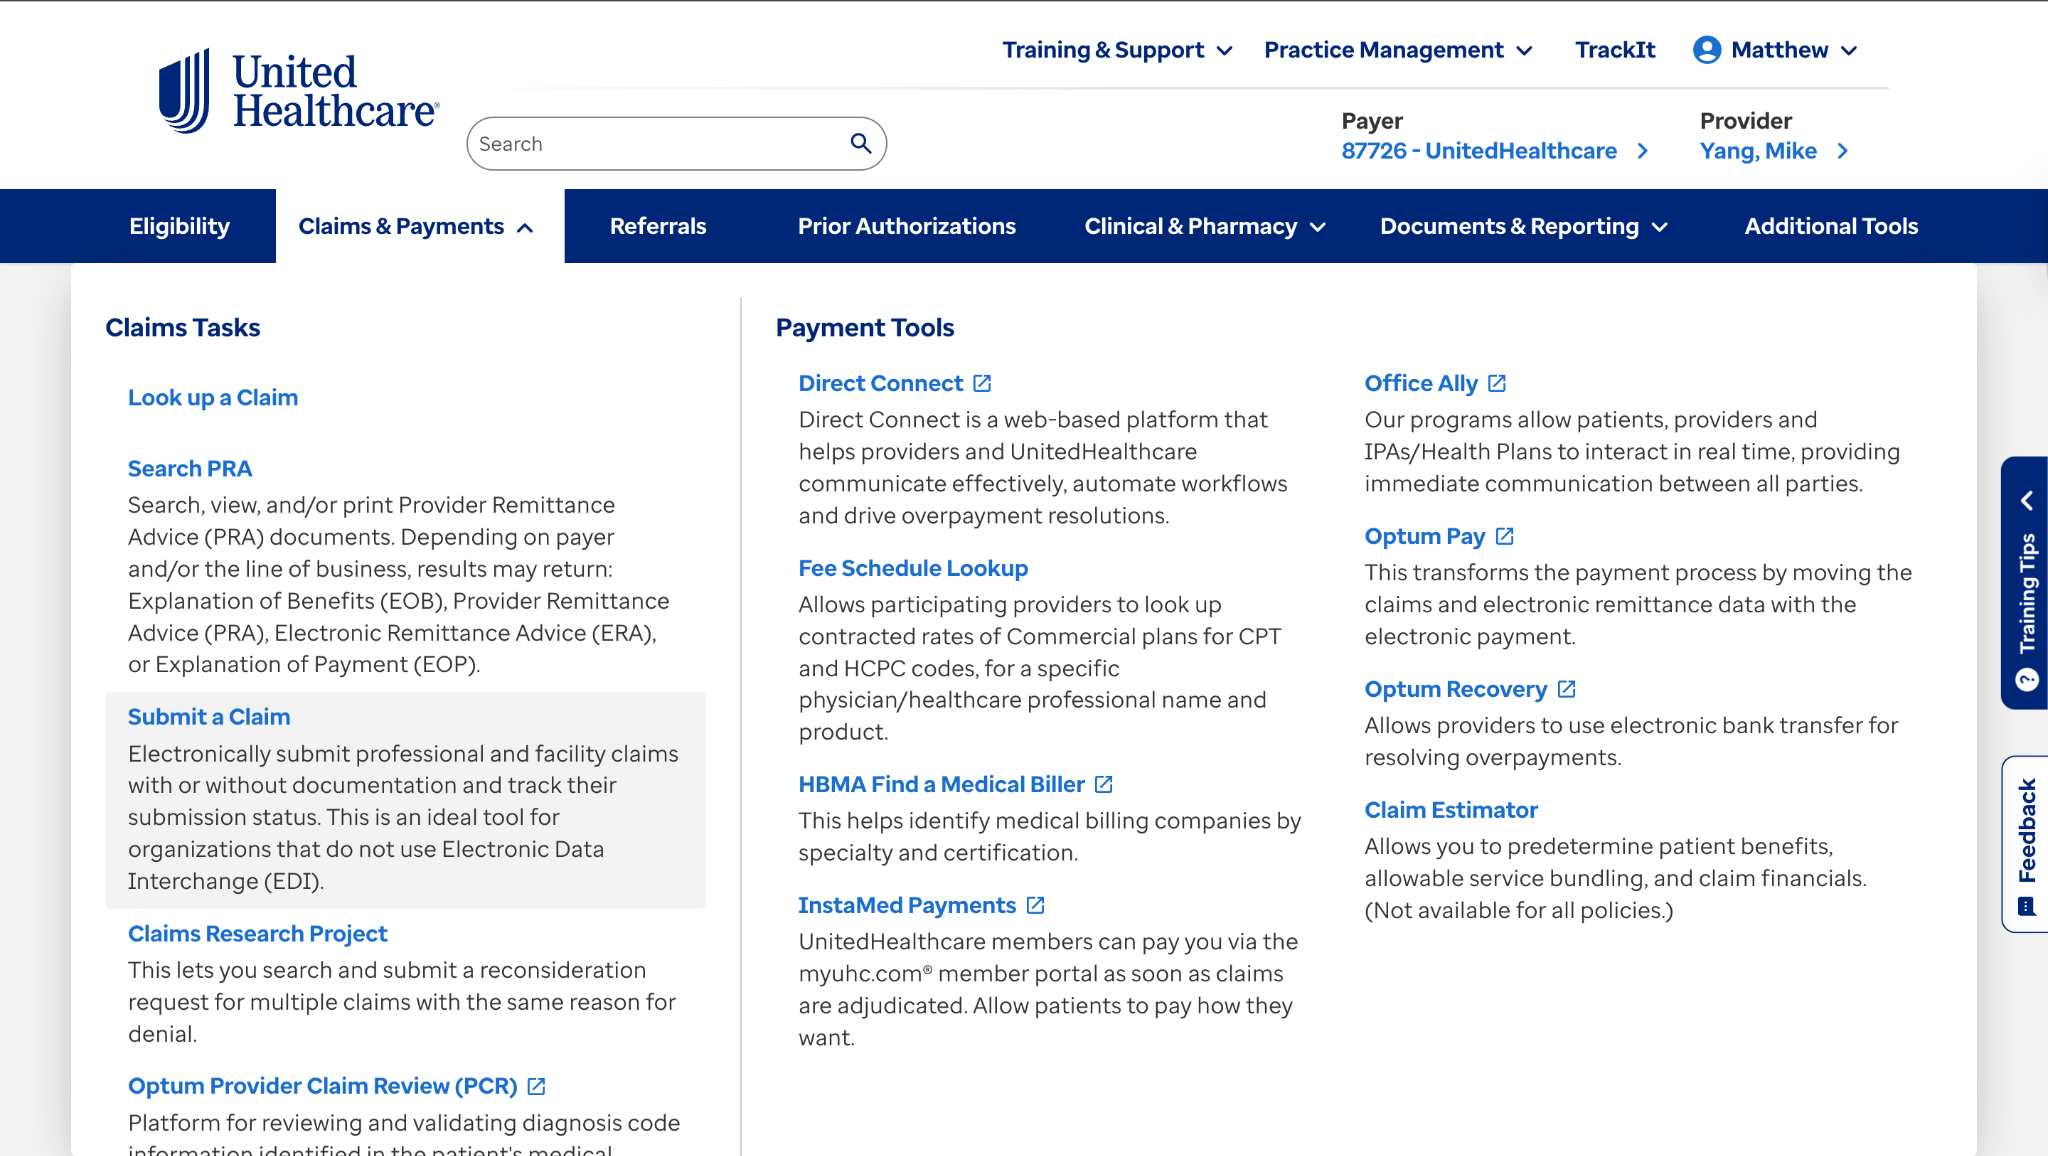
⚠️It is best to have 3 windows open (One with each) and have the UHC window be in the middle.
- From the Patient billing spreadsheet, click on the encounter number and open the link to access the encounter note.
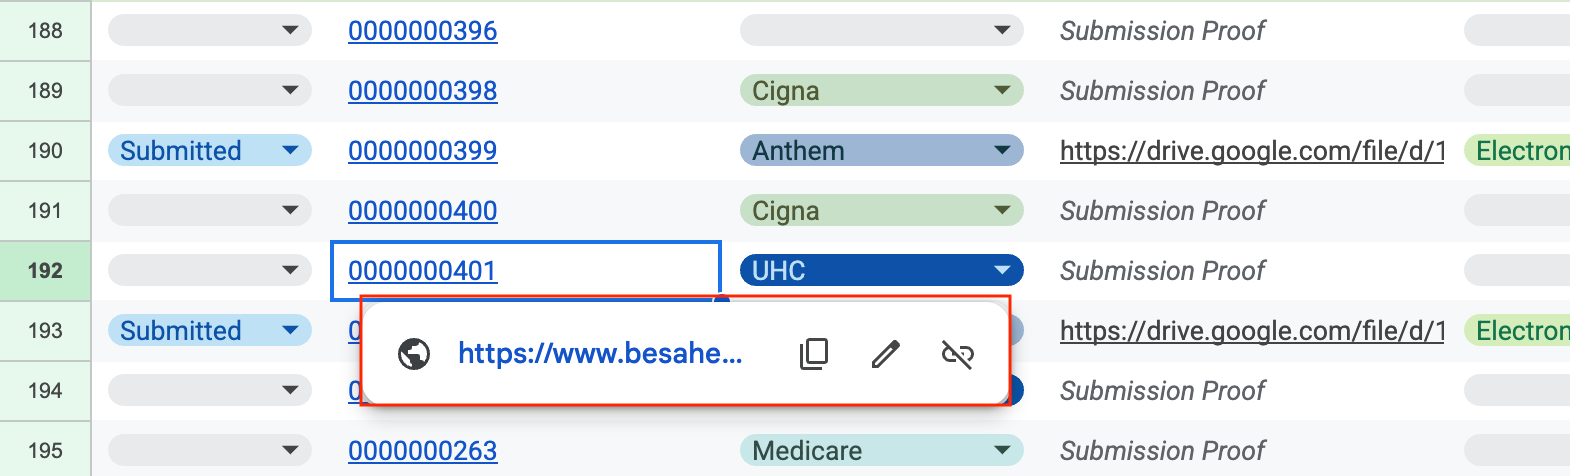
- You should now be able to see the encounter note with the dx codes there at the bottom of the canvas.
- From the EHR Billing page, click on the action icon in the far right of the row and select Generate Claim.
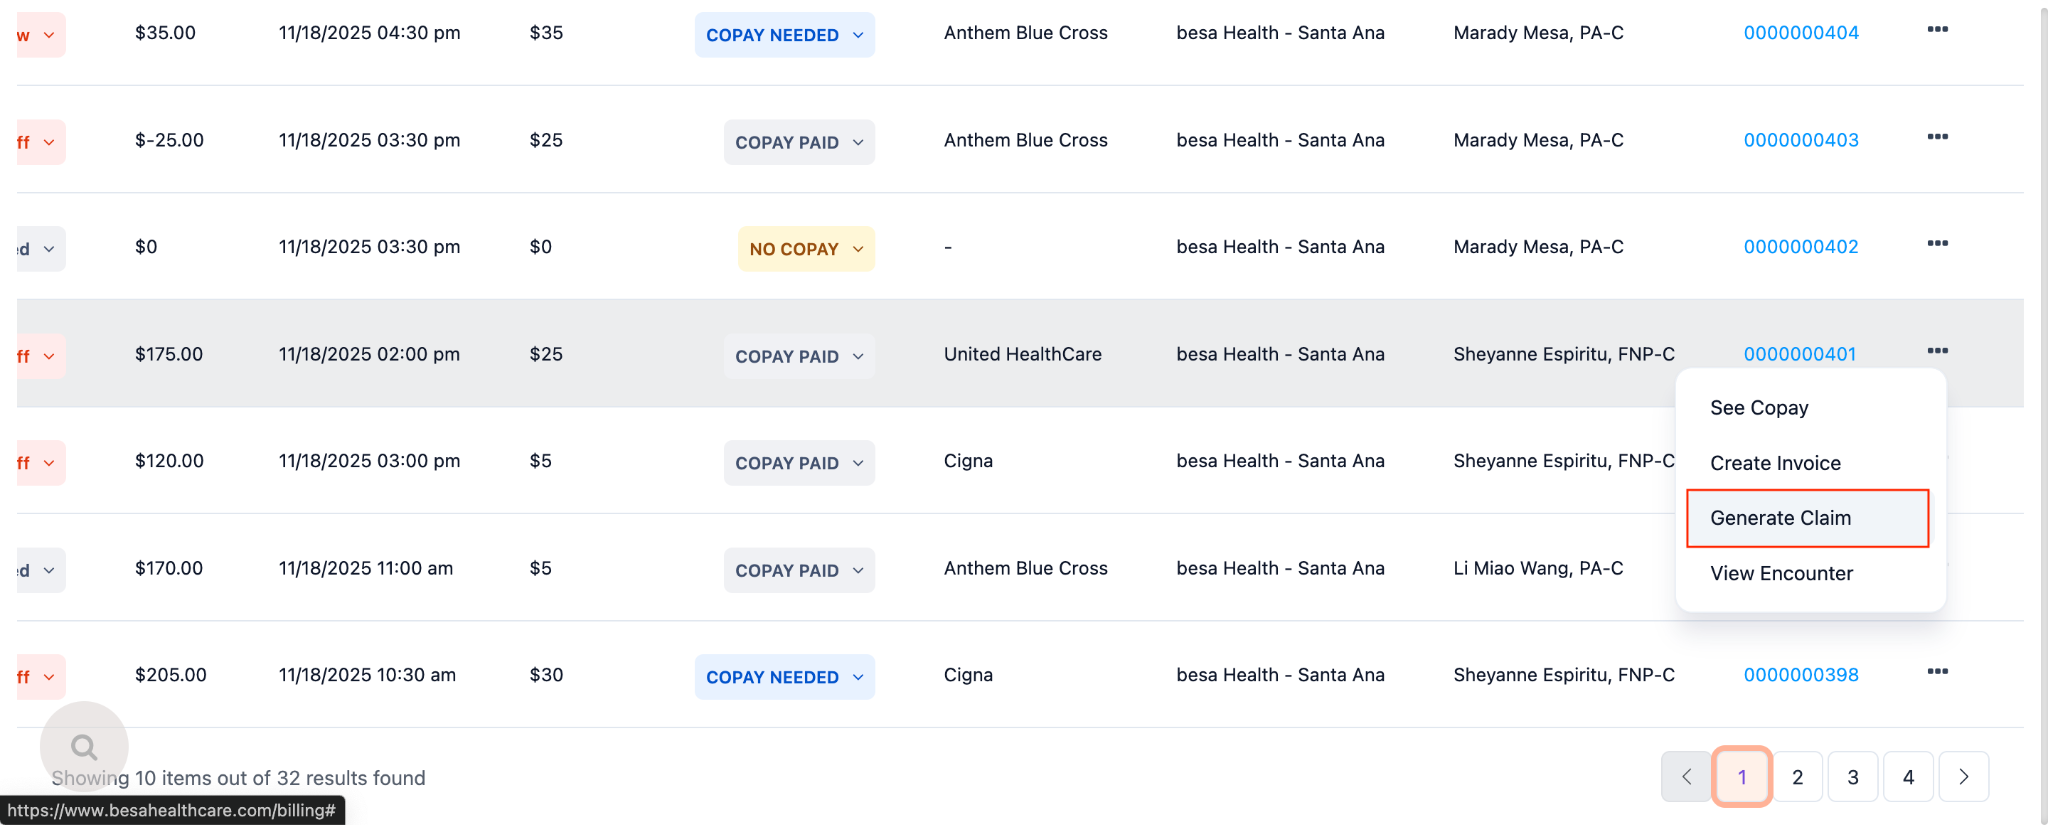
- The claim form will now open up and you can see some of the details related to the encounter. You can also add items which is what we will be doing.
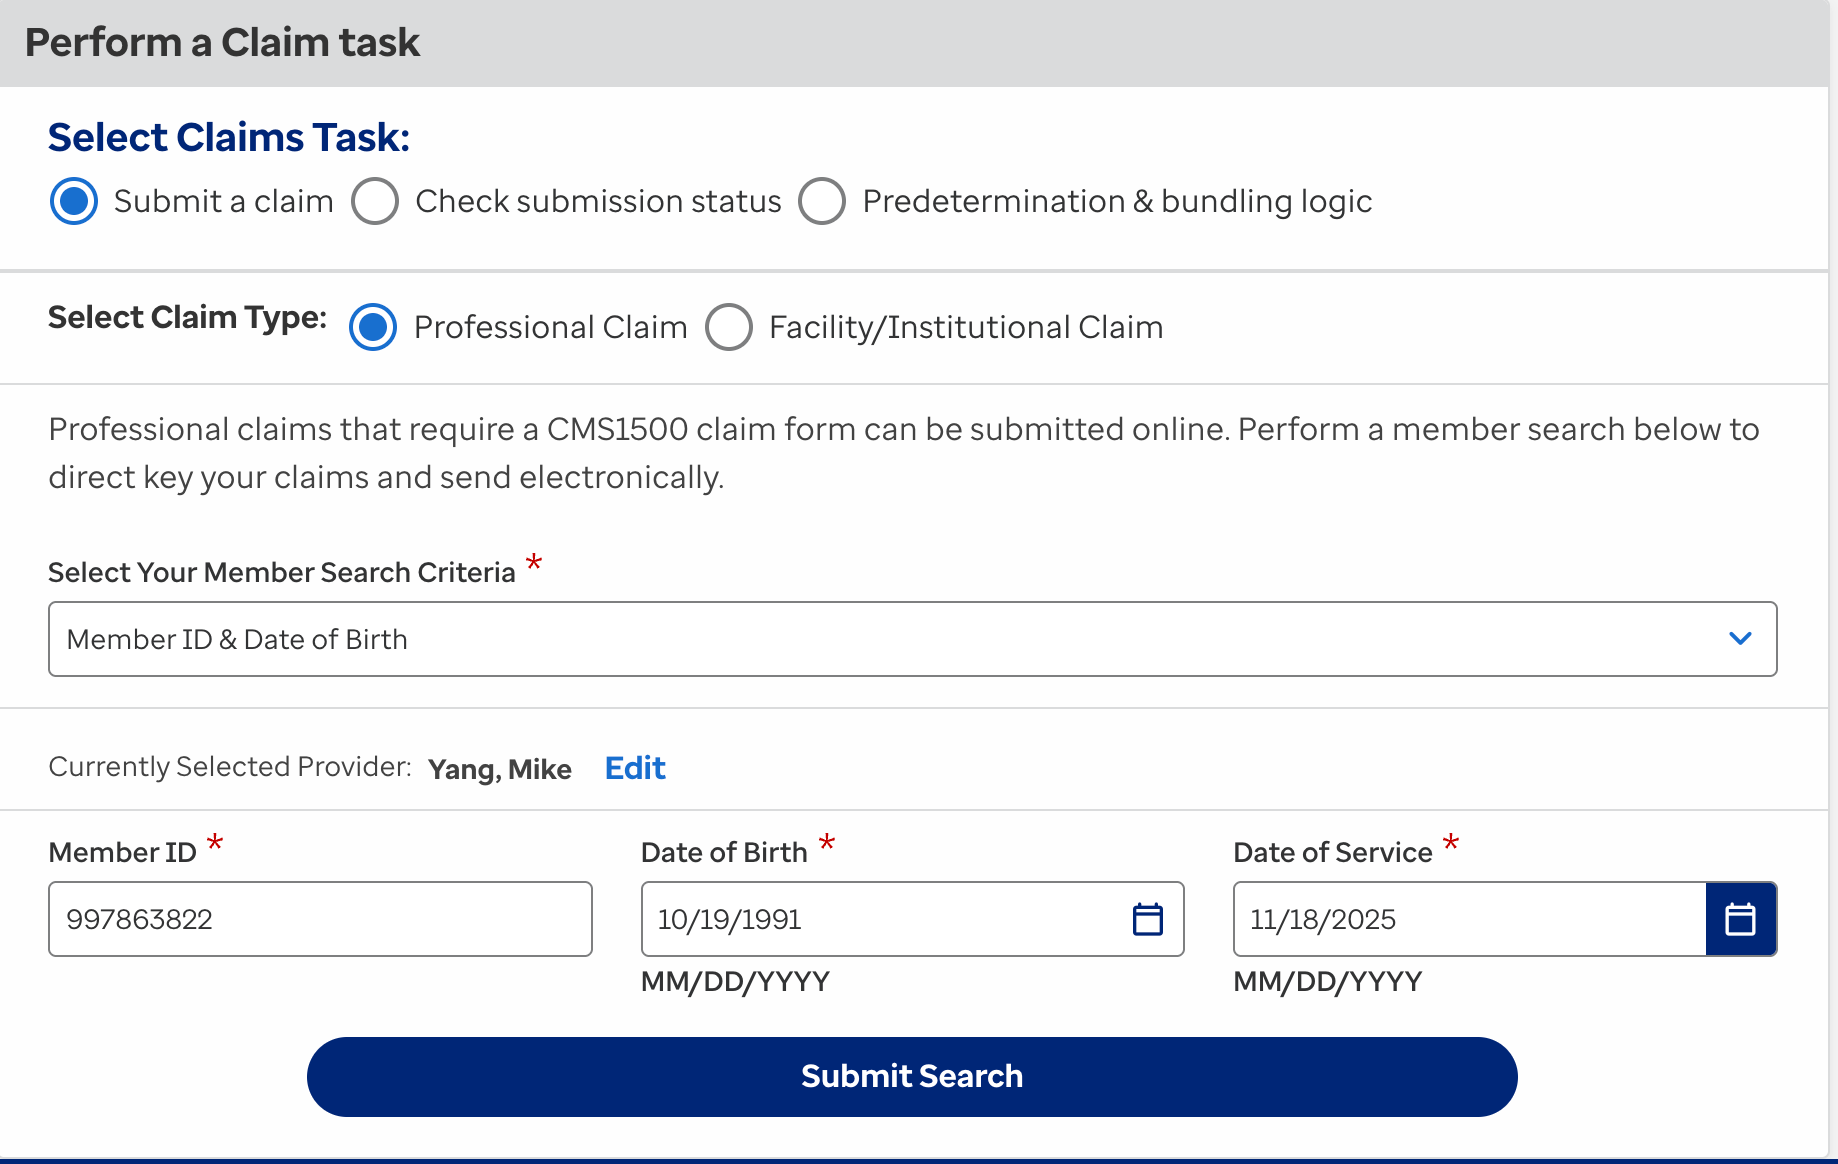
- On the UHC Claim page, enter in the Patients member ID, DOB, and the service date and Submit Search. TIP: All items you can get from the EHR Billing page
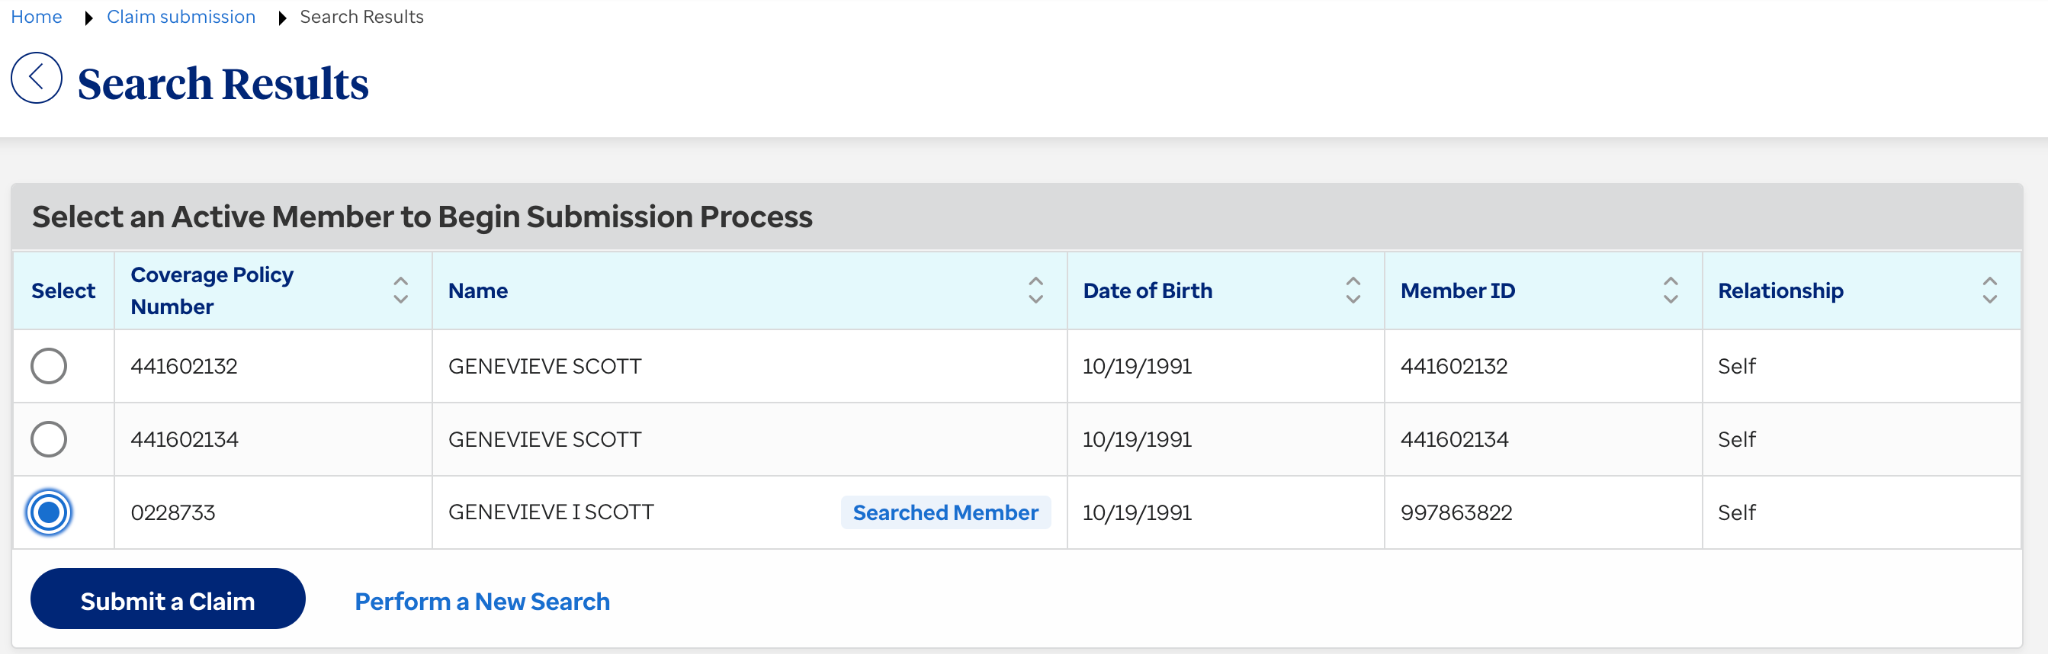
- If there are multiple Patients showing, be sure to select the correct one and press Submit Claim.
- Every field that is required will have a light blue highlight so it is real easy to not miss a key thing they are asking for. The claim will include the following key data points.
- Insurance Type = Commercial Insurance
- Is there another health plan = No
- Place of service = 10 - Telehealth provided in Patients home
This is true always because right now we are only seeing Patients via telehealth. This is subject to change. - Diagnosis code = All dx codes listed in the encounter.
- Date From = Date of encounter
- CPT = Varies. Almost always 99204 or 99214
Make sure to keep an eye to see if there’s other services we can bill for. Example: if there is a Counseling dx code, that should always be a new line item with the dx code as a pointer, CPT=99401, Modifier=25. - Modifier = 95 (Because it is telehealth)
- Diagnosis Pointer = Whatever pointer matches the treatment of what was done. A lot of times there will be multiple pointers and dx codes for the one 99204 CPT.
- Charges = 215 (Depends on new or existing Patient)
- Number of days / units = 1
- Patient Amount Paid = Copay or Deductible Deposit
- Patient Account Number = Encounter #
- Service Facility
- Billing Address
- Billing Provider NPI = 1336949254
- Servicing Provider NPI = Put the provider npi that saw the Patient. You will also need to make sure that provider is who is listed in the top right corner.
- Double check your work!!!!
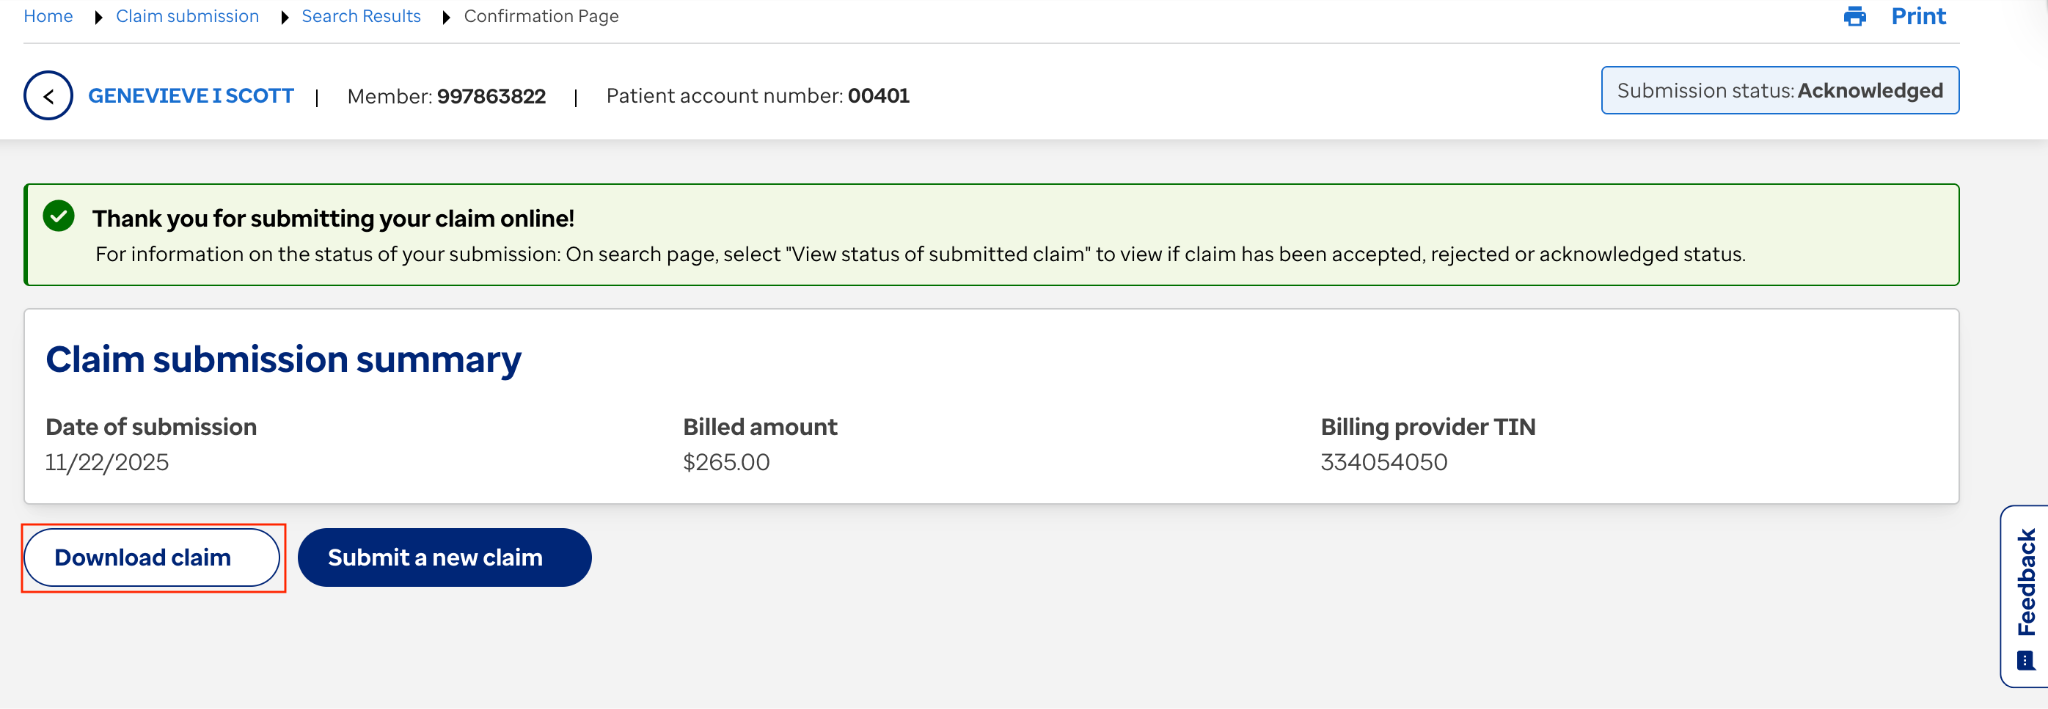
- After you double-check your work, submit the claim.
- Download the claim and save it as the encounter number. Example: Encounter 00401
- Upload the claim file to the Claim Submissions folder and copy the file link.
- In the Patient billing spreadsheet, complete the row with the information you have from the claim. Add the following information:
- Status = Submitted
- Add Claim File Link
- Submission Type = Electronic
-
Price

- Go back to the EHR billing page and add the following information:
- Upload Claim File
- Submission Type = Electronic
-
Save
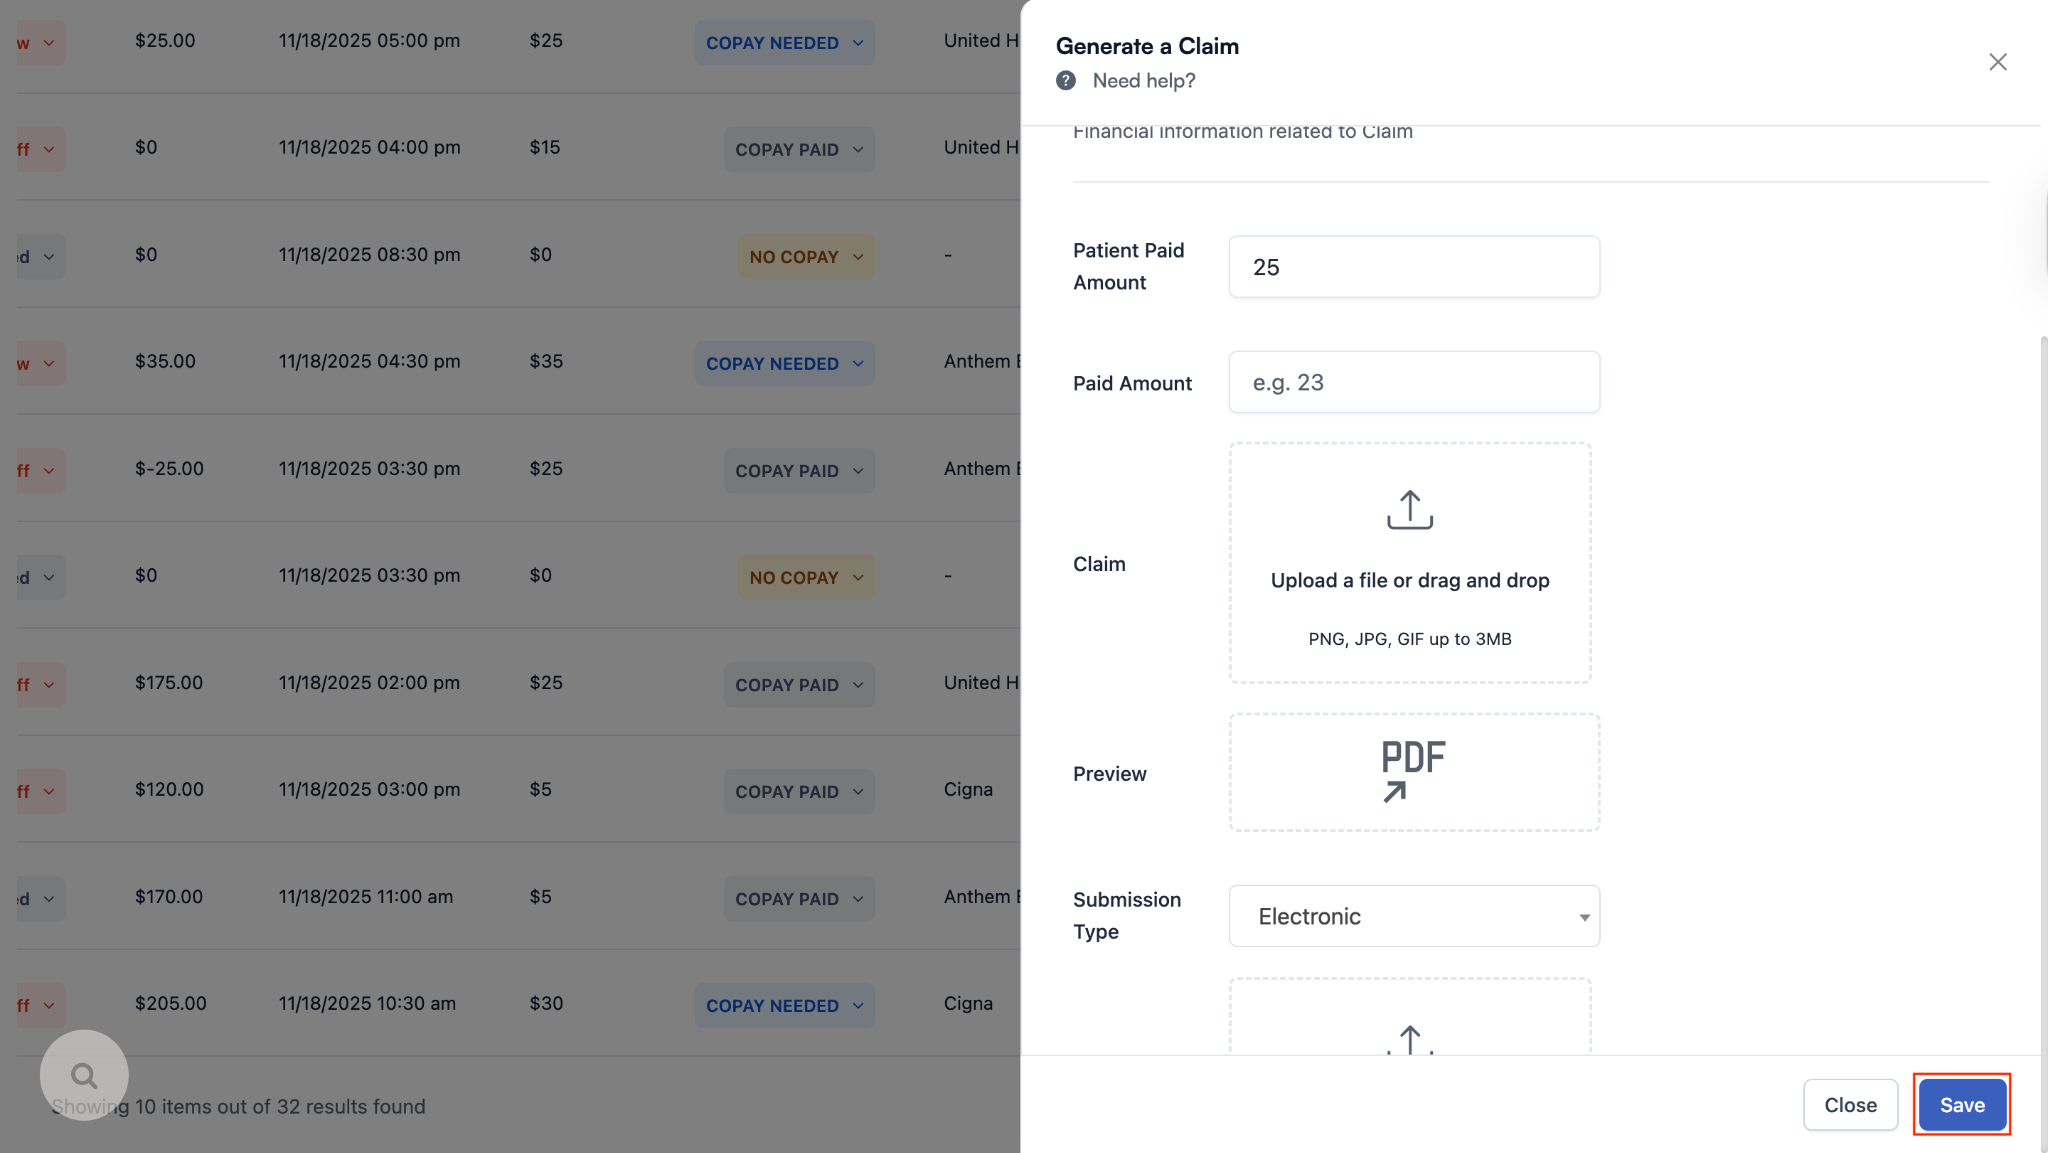
⚠️You will know it is submitted by, if you click on the action icon for the encounter row - you will no longer see the Generate Claim option.
- Always double check to make sure everything is good. If it is, move on the the next!
Here is a video to help you out.
- https://drive.google.com/file/d/1glnCZvXVA0fcQxabQE3jTXfjgL57mEo6/view?usp=drive_link
- https://drive.google.com/file/d/1n-fGgzpej76FNAphQ8Obrx_tVtGuCuL9/view?usp=drive_link
Comments (0)