
The Staff Workspace centralizes Help Center, email, SMS, phone, and live-chat support. Staff are responsible for identifying the requester, understanding prior activity, assigning ownership, choosing the correct priority and status, communicating through the correct channel, and closing the ticket only after the outcome is confirmed.
📚 Resources Needed
- Support Staff Workspace
- Assigned Support administrator credential
- Applicable SOP, requester contact information, and any related record references
✅ Before You Start
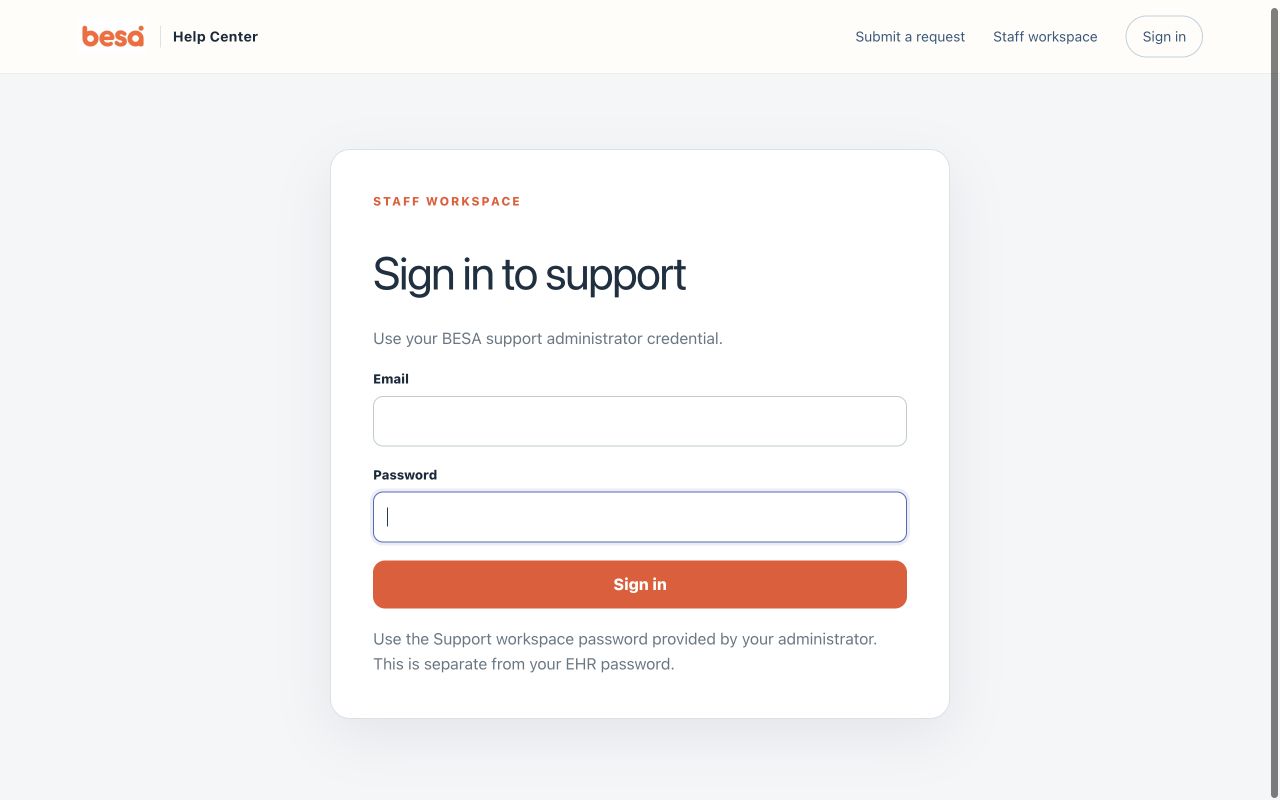
- Sign in with the separate Support administrator account and confirm your name/role.
- Review desktop alerts on a managed device so new tickets are not missed.
- Search Tickets and Requesters before creating a new record.
- Understand the difference between Public Reply and Internal Note before composing.
⚠️ Public Reply is visible to the requester. Internal Note is staff-only. Always confirm the selected composer tab before entering clinical, operational, or troubleshooting context.
🚀 Tips & Tricks
- Start in All active, then use channel or status tabs to narrow the queue.
- Use full-name, email, phone, ticket ID, subject, or assignee search before creating a requester or ticket.
- Assign the ticket before beginning work so ownership is clear.
- When a requester is waiting on Support, use Open. When Support is waiting on the requester, use Pending.
- Review Requester activity before asking a question that may already have been answered in another channel.
📘 Part 1 — Triage the Queue
- Open Tickets. Review All active and the active-ticket count.
- Use tabs for Live chat, New, Open, Pending, Resolved, or All tickets. Use search for ticket ID, subject, requester, or assignee.
- Open a New ticket. Read the subject, original request, channel, attachments, and timestamps.
- Review the right-side Ticket details and Requester activity. Confirm the requester match, contact information, channel, category, prior tickets, and any EHR patient match.
- Set Assignee, Priority, and Status. Change New to Open when active work begins.
- If the request is a duplicate, keep the best ticket as the source of truth and add an Internal Note that references the related ticket before resolving the duplicate.
📘 Part 2 — Investigate and Respond
- Open the applicable SOP and reproduce the issue safely when possible.
- Add an Internal Note with findings, systems checked, record references, risk, owner, and next action.
- Switch to Public Reply only when writing to the requester. Confirm the caption shows the intended delivery channel.
- For email, confirm the sending mailbox. For SMS, confirm the outbound support line. For live chat, confirm the visitor is connected.
- Write a clear response: acknowledge the goal, explain what was found, provide the next step, state what you need, and set expectation for follow-up.
- Attach only files intended for the requester. Confirm each filename appears before sending.
- Send the reply. The ticket may move to Pending when waiting for the requester; confirm the status after sending.
📘 Part 3 — Manage Requesters and Create Staff-Initiated Tickets
- Open Requesters and search by full name, email, or phone.
- Open the Requester Profile and review Complete History across tickets, calls, SMS, email, chat, and Help Center requests.
- Create a Requester only when no match exists. Enter Full Name and at least one contact method so future activity can match.
- To create a staff-initiated ticket, select New ticket and choose General ticket, Send email, Send SMS, or Make call.
- Select the existing requester when possible. Otherwise enter the new requester’s required contact details.
- Enter Subject, Priority, and Internal details or the outbound message. Add attachments only where supported.
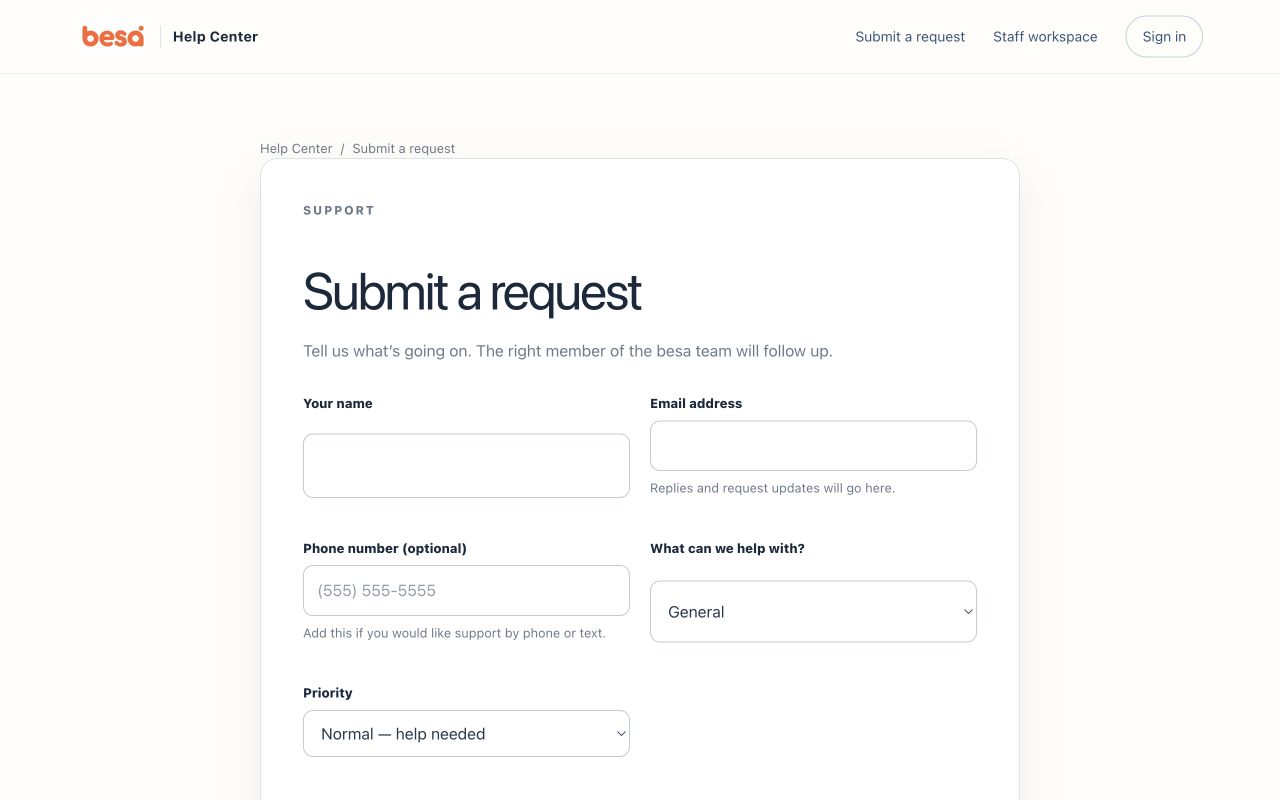
- Select Create ticket or the channel-specific action. Confirm the new ticket opens automatically and the requester history updates.
📊 Ticket Status Guide
| Status | Use It When | Required Next Action |
|---|---|---|
| New | The ticket arrived and has not been triaged. | Review, assign, prioritize, and move to Open. |
| Open | Support owns the next action or is actively investigating. | Work the issue and keep an internal record of progress. |
| Pending | The requester or an external party owns the next action. | State what is needed and monitor follow-up. |
| Resolved | The solution or answer was provided and the expected result is confirmed or reasonably complete. | Ensure final public response and internal evidence are present. |
| Closed | The conversation is administratively complete and should not continue. | Use only according to the team’s closure policy. |
📊 Priority Guide for Staff
| Priority | Operational Meaning |
|---|---|
| Low | Question, feedback, or minor issue with no meaningful workflow impact. |
| Normal | Help is needed, but the impact is limited or a workaround exists. |
| High | Important work is blocked for a user or team and needs prompt ownership. |
| Urgent | Time-sensitive or widespread production impact requiring immediate coordination. |
⚠️ Exceptions and Escalation
The requester or patient match is wrong
Do not continue using the wrong context. Select the correct Requester, confirm identity using approved information, and add an Internal Note describing the correction. Do not merge unrelated patient information.
An outbound channel is unavailable
Use the caption and disabled-state message to determine whether Gmail, AWS/Twilio SMS, or browser voice setup is missing. Keep the ticket open and use another approved channel only when the requester and workflow allow it.
The issue requires development or another owner
Keep the support ticket as the communication source of truth. Add the technical evidence and linked work item in an Internal Note, set the correct assignee/status, and give the requester a clear expectation. Do not expose internal technical details unnecessarily.
🛠 Troubleshooting
- If a ticket is missing, clear filters, open All tickets, and search public ID, email, or subject.
- If a public reply cannot send, confirm channel configuration, requester contact, sending mailbox/line, and message length. Preserve the draft before refreshing.
- If an attachment is absent, verify the filename before sending and reopen the message after send.
- If notifications do not arrive, confirm browser permission and use Send test notification on a managed device.
- If bulk changes are used, select only visible intended tickets and review the selected count before Apply changes.
✅ Completion Check
- The ticket has the correct requester, assignee, priority, category, and status.
- Prior requester activity and applicable SOPs were reviewed.
- Internal evidence is in Internal Note; requester-facing content is in Public Reply.
- The response used the correct channel and any attachment is visible.
- The ticket is Resolved only when the outcome is supported and the requester received the final response.
If you have any questions, something does not match what you see, or you need more information, please reach out to Support.
Comments (0)